Home blood pressure monitors provide daily insight into cardiovascular trends, but their internal sensors do not remain pristine indefinitely. Unlike clinical mercury sphygmomanometers, which rely on simple gravity and physical columns of liquid, home units use oscillometric microchips, flexible rubber bladders, and miniature air valves. These components experience wear, temperature shifts, and physical degradation. If you rely on home data to manage cardiovascular wellness, an unverified device can quietly misreport your numbers by several millimeters of mercury, leading to unwarranted medication changes or a false sense of security.
True factory calibration requires a specialized pressure chamber and digital manometer, which most manufacturers do not make accessible to home users. In practical home care, calibrating your monitor means validating its performance against a reference standard, usually a calibrated clinical device at your doctor's office. By comparing simultaneous or back-to-back readings under controlled conditions, you establish your device's variance. If the margin of error falls outside acceptable clinical tolerances, you can adjust your tracking logs, send the unit for manufacturer servicing, or replace it entirely.
Why Cuff Accuracy Drifts Over Time
Oscillometric monitors calculate blood pressure by detecting the amplitude of pressure oscillations generated by arterial wall movement as the cuff deflates. The device does not listen to Korotkoff sounds through a stethoscope. Instead, an internal pressure transducer converts physical vibrations into electrical signals, running them through a proprietary mathematical algorithm to estimate systolic and diastolic values. Over months of routine inflation, several physical factors degrade this conversion process.
The primary mechanical vulnerability is the internal pneumatic system. The cuff bladder, rubber tubing, and internal solenoid valves stretch and fatigue. Microscopic cracks in the rubber or loose friction fittings cause slow air leaks during the deflation phase. If the deflation rate drops below or exceeds the standard 2 to 3 mmHg per second, the algorithm misinterprets the peak amplitude of the pressure wave. A slow leak often causes the monitor to register an artificially high systolic reading because it miscalculates how long the artery remained compressed.
Electronic drift also occurs within the pressure transducer itself. Mechanical shocks from accidental drops on a nightstand or floor displace the delicate silicon diaphragm inside the sensor. Environmental conditions accelerate this drift. Storing a monitor in a humid bathroom or near a drafty window causes thermal expansion and contraction of circuit board solders, shifting the zero-point reference. Most manufacturers recommend re-verifying accuracy every two years, or after roughly 1,000 inflation cycles, whichever comes first.
| Component | Cause of Drift | Typical Measurement Impact |
|---|---|---|
| Rubber bladder and hose | Material dry rot, microscopic pinholes | Erratic deflation speeds; falsely high systolic values |
| Pneumatic valve | Dust accumulation, spring fatigue | Premature deflation; missed diastolic oscillations |
| Pressure transducer | Physical drops, sensor aging | Baseline shift; consistent over- or under-reporting by 5 to 15 mmHg |
| Battery compartment | Low voltage output | Sluggish pump cycle; incomplete inflation errors |
Preparing for a Clinic Comparison Check
The most reliable way to validate a personal monitor is to bring it directly to an outpatient clinic appointment. Coordinate with the clinical staff before your visit. When scheduling your appointment, inform the receptionist that you need a nurse or medical assistant to perform a simultaneous or sequential blood pressure validation check. This ensures the staff sets aside three extra minutes during the intake assessment.
Pack the device properly. Bring the monitor base, the exact cuff you use daily, and fresh batteries. Never perform an accuracy check on low batteries, as weak power cells can introduce pump hesitation that does not reflect everyday operation. If your unit uses an AC wall adapter, bring that as well to rule out power-delivery discrepancies. Inspect the cuff fabric and tubing connection before leaving home. Ensure there is no lint trapped in the air plug, which can prevent an airtight seal in the port.
The gold standard validation procedure involves three sequential readings:
- The baseline clinical assessment: The clinician takes your blood pressure using a calibrated clinical aneroid or professional digital monitor on your bare arm.
- The home device test: After a rest period of two minutes, the clinician applies your home monitor cuff to the same arm and takes a reading with your machine.
- The confirmation check: After another two-minute rest, the clinician takes a final reading using their clinical device.
The clinician averages their first and third readings, then compares that baseline to the reading produced by your personal monitor. If the difference between your monitor and the clinic average is less than 5 mmHg for both systolic and diastolic numbers, your device is performing within acceptable limits. A difference between 5 and 10 mmHg indicates borderline drift, requiring careful documentation. A discrepancy exceeding 10 mmHg means the unit is unreliable and should be decommissioned or returned to the manufacturer for repair.
Matching Cuff Size to Upper Arm Circumference
A monitor can have a flawless pressure sensor and still produce wildly inaccurate data if the cuff does not match the arm circumference. The bladder inside the fabric wrap must encircle between 75% and 100% of the arm circumference, and its width must cover roughly 40% of the distance between your elbow crease and shoulder joint. Using a cuff that is too small forces the bladder to over-inflate to occlude the brachial artery, which artificially inflates systolic readings by 8 to 12 mmHg. Conversely, a cuff that is too loose or too wide underestimates pressure by failing to focus the compression wave properly.
Measure your arm before assuming your monitor has lost calibration. Use a non-stretch cloth tailor's tape. Stand or sit with your arm hanging relaxed at your side. Locate the midpoint between the bony tip of your shoulder (the acromion) and the tip of your elbow (the olecranon). Wrap the tape snugly around this midpoint without compressing the soft tissue. Note the measurement in centimeters.
| Cuff Category | Arm Circumference Range | Common Device Label |
|---|---|---|
| Small Adult | 17 cm to 22 cm | Small / Child / Lean adult |
| Standard Adult | 22 cm to 32 cm | Medium |
| Large Adult | 32 cm to 42 cm | Large / Extra Large |
| Universal Wide-Range | 22 cm to 42 cm | Easy-wrap / Multi-cuff |
| Thigh / Bariatric | 42 cm to 50 cm or greater | Extra Large / Conical |
Cone-shaped arms present another mechanical obstacle. If your bicep tapers significantly toward the elbow, a standard rectangular cuff will gap at the bottom edge. This gap causes uneven bladder expansion and irregular pressure wave detection. In these instances, search for a contoured or pre-formed conical cuff compatible with your monitor model. Never use a third-party cuff unless the manufacturer explicitly lists your specific device model in the compatibility index, because the volume of air required to fill different bladders alters the monitor algorithm calculations.
Standardizing Your Five Minute Rest Period
True equipment drift cannot be distinguished from physiological variability unless the human body is stabilized before the pump starts. The cardiovascular system reacts instantly to ambient temperature, emotional stress, speech, and posture. If you sit down and immediately press the start button, your reading will capture the physical exertion of walking to the chair, which can elevate systolic blood pressure by 10 to 20 mmHg. A strict stabilization protocol isolates the machine's mechanical performance from your body's temporary adjustments.
Follow these steps every time you test your monitor, especially when comparing it against another device:
- Empty the bladder first: A full urinary bladder can increase blood pressure readings by 10 to 15 mmHg due to sympathetic nervous system stimulation. Use the restroom at least ten minutes before testing.
- Eliminate chemical stimulants: Avoid tobacco, caffeine, nutritional supplements containing stimulants, and aerobic exercise for a minimum of thirty minutes prior to measuring.
- Position your body correctly: Sit in a stable chair with your back firmly supported against the backrest. Keep your feet flat on the floor with your knees uncrossed. Crossing your legs at the knees or ankles raises systolic pressure by roughly 4 to 8 mmHg.
- Support the arm at heart level: Rest your bare arm on a desk or table. The center of the cuff must sit exactly level with your right atrium (the middle of your sternum). If your arm hangs below heart level, hydrostatic pressure adds roughly 2 mmHg for every inch of drop. If your arm is held above heart level, readings drop correspondingly.
- Observe complete silence: Sit quietly for five full minutes without talking, reading text messages, looking at a computer screen, or listening to stimulating audio. Even passive listening or subtle conversation can cause transient spikes of 5 to 7 mmHg.
When conducting calibration trials, execute three consecutive readings spaced two minutes apart. Discard the first reading, which is routinely the highest due to initial anxiety or sudden cuff inflation. Average the second and third readings to establish your true baseline test number.
Recording Discrepancies for Your Physician
When your clinic check reveals that your monitor does not align with the physician's measurements, document the findings methodically. Never attempt to adjust medical regimens based on mental calculations or assumed offsets. Telling yourself that your device always reads "ten points high" is dangerous because oscillometric bias is rarely linear. A machine might over-read by 12 mmHg at a true systolic pressure of 120 mmHg, but under-read by 6 mmHg when your pressure spikes to 160 mmHg.
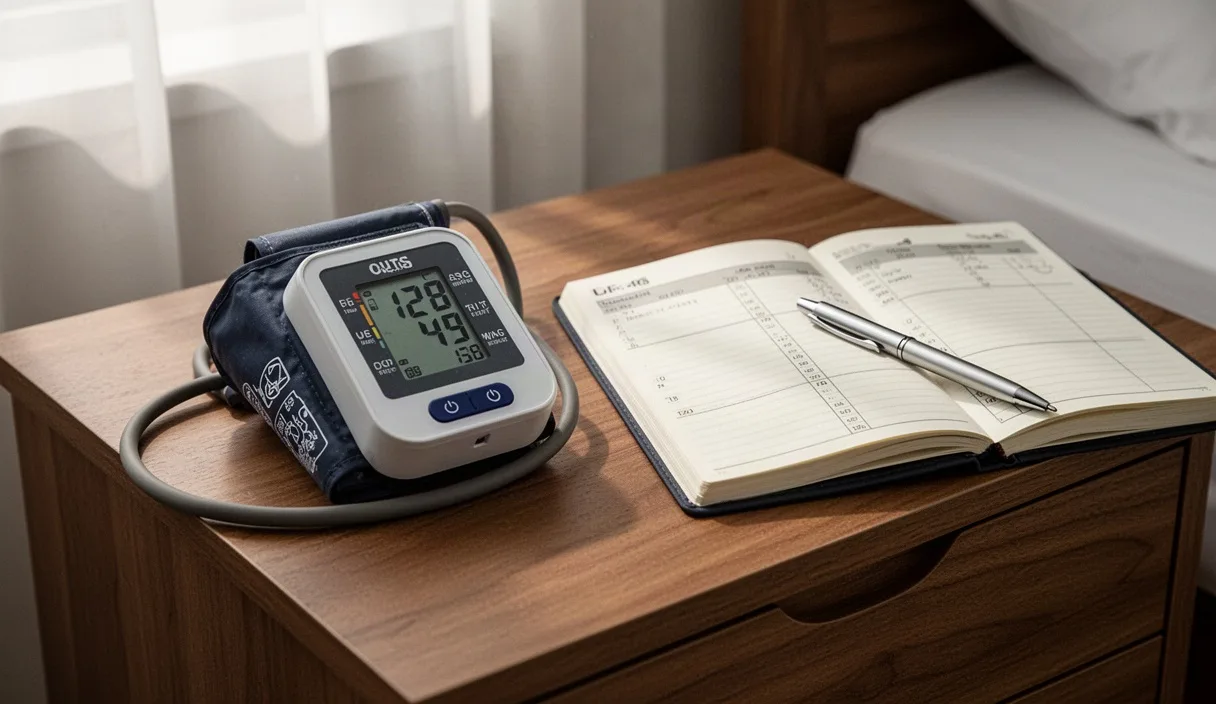
Construct a dedicated calibration log in a notebook or digital spreadsheet. Document the serial number of your personal device, the date of testing, the clinic model used for comparison, and the exact values obtained during the cross-check. Calculate the raw numerical variance for both systolic and diastolic values.
| Date | Clinic Reading (Reference) | Home Unit Reading | Discrepancy (Home minus Clinic) | Clinical Recommendation |
|---|---|---|---|---|
| March 12 | 128 / 78 mmHg | 134 / 82 mmHg | +6 Systolic / +4 Diastolic | Acceptable variance; monitor monthly |
| July 18 | 132 / 80 mmHg | 148 / 92 mmHg | +16 Systolic / +12 Diastolic | Failed validation; replace unit |
| October 05 | 122 / 74 mmHg | 121 / 73 mmHg | -1 Systolic / -1 Diastolic | Accurate; keep current device |
Present this log to your doctor or care team. If your monitor consistently deviates by 6 to 9 mmHg, your physician may decide that the trend data remains clinically useful as long as the offset is tracked. If the gap exceeds 10 mmHg, or if the diastolic reading drifts in a different direction than the systolic reading (for example, systolic reads +12 mmHg while diastolic reads -8 mmHg), your physician will advise replacing the unit immediately. Keep this documentation with your health records to verify the baseline history of past measurements.
Common Mistakes
Many users inadvertently corrupt their home verification checks through small operational errors. One widespread mistake is taking back-to-back readings without resting between cycles. When a blood pressure cuff inflates, it temporarily occludes the artery, causing local blood vessel dilation and pooling in the forearm. If you inflate the cuff again immediately, the trapped venous blood distorts the oscillation wave, leading to artificially lower readings. Always wait a full two minutes between inflations so vascular tone can normalize.
Another error is testing a monitor over clothing. Rolling up a tight shirt sleeve creates a tourniquet effect that constricts blood flow before the cuff even inflates. Conversely, placing the cuff directly over thick sweaters or shirts introduces acoustic damping and friction noise, confusing the microchip. Readings should always be performed on bare skin or through an exceptionally thin, single layer of fabric (less than 1 millimeter) that lies completely smooth against the arm without bunching.
Finally, avoid comparing a home upper-arm monitor against a wrist monitor or smart wearable to determine calibration accuracy. Wrist units are exceptionally sensitive to wrist height relative to the heart and yield entirely different oscillation profiles. You cannot calibrate one consumer device against another consumer device; one must always be a verified, professionally serviced clinical instrument.
Practical Next Steps
If your device has never been verified against a clinical standard, take action before your next scheduled medical consultation:
- Locate your monitor documentation: Check the manufacturer manual for the specific validation protocol and warranty period. Major clinical registries, such as STRIDE BP or the American Medical Association US Blood Pressure Validated Device Listing, host searchable databases to confirm whether your model underwent formal clinical testing.
- Measure your mid-arm: Verify that the cuff currently attached to your machine matches your current arm circumference. If you have experienced weight loss or gain, you may simply need a different cuff size rather than an entirely new monitor base.
- Schedule an equipment check: Call your physician's office or local community clinic. Many practices permit patients to drop in for a quick nurse check solely to compare home vitals equipment without requiring a full diagnostic consultation.
- Establish an inspection schedule: Mark your calendar to recheck your monitor every twelve months if you manage diagnosed cardiovascular conditions, or every two years for general screening. If the unit is ever dropped onto a hard surface, pull it out of circulation until you perform a clinic comparison.
Careful measurement habits combined with regular clinical verification ensure that your daily logs reflect real physiology rather than mechanical fatigue. If you receive readings that are unexpectedly high or low, or if you experience symptoms like chest discomfort, shortness of breath, severe headache, or dizziness, do not wait for device calibration: contact a healthcare professional or emergency medical services immediately.